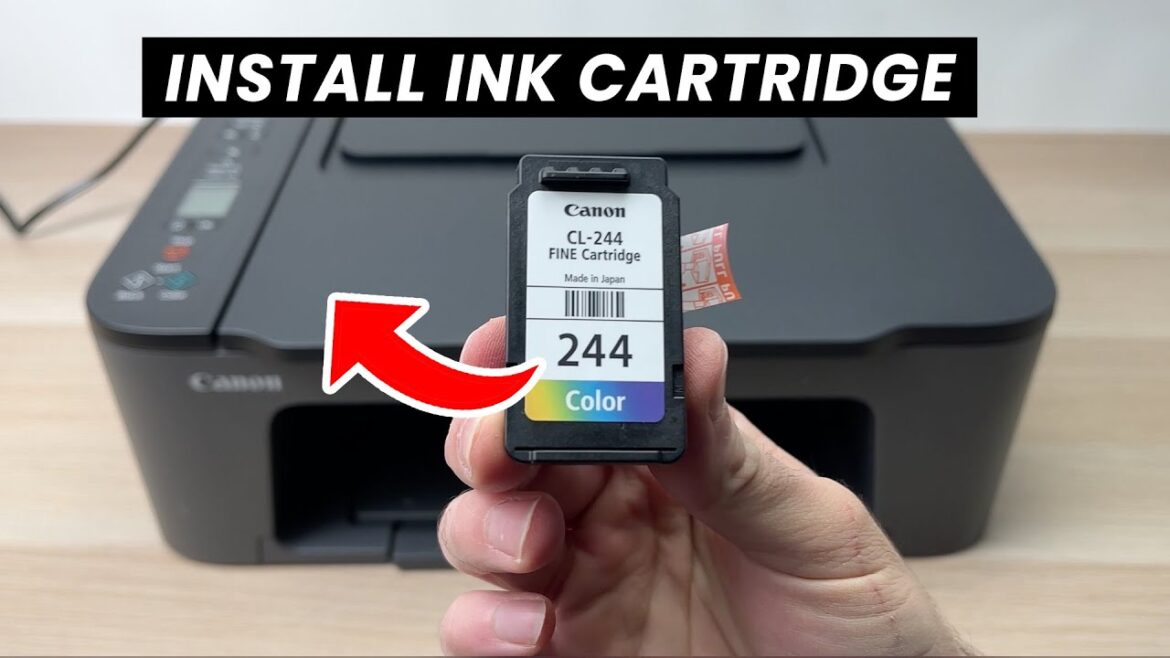
Changing the ink cartridge in your Canon Pixma printer may seem tricky, especially if you’re new to home printing. But don’t worry! In this detailed guide, you’ll learn exactly how to change ink cartridge Canon Pixma step-by-step. Whether you’re printing college assignments, family photos, or office documents, a fresh cartridge ensures sharp and vibrant prints every time.
In the first few steps, we’ll show you how to check cartridge status and safely replace it. So, let’s dive into the process and help you master how to change ink cartridge Canon Pixma like a pro!
Step 1: Gather the Right Tools and Supplies
Before starting the replacement process, make sure you have the following:
-
A compatible Canon Pixma ink cartridge (check your printer model)
-
A clean cloth or tissue
-
Your Canon Pixma printer powered on and idle
-
Your printer manual (optional, but helpful)
Having everything in place will ensure a smooth and quick cartridge change without interruptions.
Step 2: Turn On and Open Your Canon Pixma Printer
Press the power button on your Canon Pixma to turn it on. Wait until the printer completes any ongoing operations like cleaning or initializing. Once it becomes idle, open the front cover or top lid of the printer, depending on your Pixma model.
Most Canon Pixma printers have a cartridge carriage that automatically slides to the center when you open the cover. This gives you easy access to the cartridges.
Step 3: Identify and Remove the Empty Cartridge
Inside the printer, you’ll see the ink cartridges placed in slots — typically one for black and one for color.
Here’s how to remove the old cartridge:
-
Locate the ink cartridge with the low or empty ink level.
-
Press down gently until you hear a click.
-
Pull the cartridge toward you to remove it from the slot.
Avoid touching the electrical contacts or the nozzle at the bottom of the cartridge.
Step 4: Prepare the New Ink Cartridge
Take your new ink cartridge out of the packaging. Gently remove the plastic tape or orange tab that protects the print head and electrical contacts. Do not shake the cartridge or touch the copper area, as that may damage the unit or cause printing errors.
If you are installing both black and color cartridges, repeat this step for each one.
Step 5: Install the New Cartridge into Canon Pixma
Now that the old cartridge is out and the new one is prepped, it’s time to install it.
Follow these instructions:
-
Hold the cartridge so that the nozzles face downward and the label faces you.
-
Insert the cartridge into the corresponding slot (black goes to black, color to color).
-
Push up gently until it clicks into place.
Once inserted correctly, the cartridge will lock into position. If it feels loose, remove it and try again.
Step 6: Close the Printer Cover and Align the Cartridges
After installing the new cartridges, close the front or top cover of the printer. The cartridge holder will return to its original position, and the printer will likely begin an automatic alignment process.
You can also initiate a manual alignment using the printer’s control panel or software on your PC:
-
Open Canon printer software on your computer
-
Go to “Maintenance”
-
Click on “Align Print Head”
Proper alignment ensures you get the best print quality without streaks or misprints.
Step 7: Perform a Test Print
To confirm everything works fine, run a quick test print:
-
Load a sheet of plain paper into the tray.
-
From your PC or printer screen, select a test page or document to print.
-
Examine the output for sharpness, alignment, and color quality.
If the print quality is still poor, try cleaning the print heads using the maintenance tools provided in the printer software.
Common Mistakes to Avoid
When learning how to change ink cartridge Canon Pixma, many users make simple mistakes. Here’s how to avoid them:
-
Don’t touch the ink nozzles or copper contacts. This may block the cartridge or damage the electronics.
-
Don’t forget to remove the plastic tape. It will prevent the cartridge from working.
-
Never force a cartridge into the wrong slot. Each one is designed to fit only in its correct place.
By avoiding these issues, you’ll save time and keep your printer running smoothly.
Troubleshooting After Cartridge Replacement
If your Canon Pixma printer still shows an ink error after replacing the cartridge, try these tips:
-
Power off the printer, unplug it, and wait for 2 minutes before restarting.
-
Remove and reinsert the cartridge to ensure proper contact.
-
Check for any remaining protective tape on the cartridge.
For persistent issues, refer to your printer’s manual or Canon’s customer support page for your model.
How Often Should You Replace Canon Pixma Ink Cartridges?
There’s no fixed timeline, but typically:
-
Occasional users: Replace every 3–6 months.
-
Regular users: Replace every 1–2 months.
-
Heavy users: Replace monthly or sooner.
Always check ink levels through your printer software or the built-in display. Also, keep spare cartridges at home to avoid running out during important print jobs.
Benefits of Changing Your Ink Cartridge Regularly
Replacing your ink cartridge regularly ensures:
-
Consistent print quality with no fading or smudges.
-
Reduced risk of clogged print heads from dried ink.
-
Better efficiency with fewer interruptions during printing.
Learning how to change ink cartridge Canon Pixma helps you stay prepared and maintain your printer’s performance.
Final Thoughts
Changing the ink in a Canon Pixma printer is easy once you know the steps. Whether you’re using a Canon Pixma MG3620, TS3120, or another model, this guide works across the entire Pixma range.
Remember, how to change ink cartridge Canon Pixma involves more than just pulling out the old cartridge. Preparation, careful installation, and proper alignment are key to successful printing. Follow this guide every time, and you’ll keep your printer running smoothly with vibrant prints.


